Integrate Amazon Lex With Flutter App

For industries and companies to maintain an advantage over their competitors, better customer service offers in their mobile apps are crucial. So it is equally important to understand how to integrate a bot in a flutter app. As Amazon is increasing its share in the development of flutter apps with its Amplify service, now integration of Amazon lex with flutter has become easier than ever.
At this moment, Amplify supports Authentication, Storage, and Analytics for Flutter.
We will communicate with Lex by using a REST API.
What we are going to use💻?
We will be creating a chat with the bot and will be using some amazing packages from flutter pub to make our work efficient and easier. To start, we need to install the following packages:
- http 0.13.3 : To send request to Amazon Lex
- sigv4 5.0.0: To authenticate the service
- uuid 3.0.4 : To create unique uuid
- flutter_chat_ui 1.1.9 : To create basic chat UI
Now our vision is crystal clear and ready to start our project.

Lets' Start
Normally, I set up the backend first, then connect the frontend. Hopefully, you have successfully set up Amazon Lex in AWS.

1. Setup Backend File
I have created a file named bot_service.dart which will contain the code to interact with our lex bot.
import 'dart:convert';
import 'dart:developer';

import 'package:amazon_cognito_identity_dart_2/sig_v4.dart';
import 'package:flutter/material.dart';
import 'package:http/http.dart' as http;
import 'package:sigv4/sigv4.dart';

class BotService {
  Map<String,dynamic> result;
  String botName= "<NAME_OF_BOT>";
  String kAccessKeyId = '<ACCESS_KEY>';
  String kSecretAccessKey = '<SECRET_ACCESS_KEY>';
  String botAlias= "<BOT_ALIAS>";
  String botAWSRegion= "<AWS_LEX_REGION>";

  Future<Map<String,dynamic>> callBot(String message) async {
    var response;

 String requestUrl= "https://runtime.lex."+botAWSRegion+".amazonaws.com/bot/"+botName+"/alias/"+botAlias+"/user/1234/text";

    Sigv4Client client = Sigv4Client(
      region: botAWSRegion,
      serviceName: 'lex',
      defaultContentType: 'application/json; charset=utf-8',
      keyId: kAccessKeyId,
      accessKey: kSecretAccessKey,
    );

    final request = client.request(
     requestUrl,
      method: 'POST',
      body: jsonEncode({'inputText': message}),
    );

    response = await http.post(request.url,
        headers: request.headers, body: request.body);
    result = jsonDecode(response.body);
    return result;
  }
}
Take special care while inserting the required values and region of the Amazon Lex Bot.
In <ACCESS_KEY> and <SECRET_ACCESS_KEY> you have to insert the value of your Amazon role's secret or you can create a new role for the bot and permit it to call Amazon Lambda Functions(I would prefer to go with creating a new role for the bot).
2. Create Chat UI
To create the chat UI, I will use flutter_chat_ui package as it provides a lot of already built features like handling messages and a chat message model.
import 'dart:developer';

import 'package:flutter/material.dart';
import 'package:flutter_chat_ui/flutter_chat_ui.dart';
import 'package:flutter_chat_types/flutter_chat_types.dart' as types;
import 'package:uuid/uuid.dart';

import './bot_service.dart';

class BotScreen extends StatefulWidget {
  const BotScreen({Key? key}) : super(key: key);

  @override
  _BotScreenState createState() => _BotScreenState();
}

class _BotScreenState extends State<BotScreen> {
  List<types.Message> messages=[];
  final _user = const types.User(id: '1234556');
  final _bot = const types.User(id: "123");
//id of bot and user doesn't matter here as we have only pair interaction

  BotService _botService = BotService();

  @override
  void initState() {
    super.initState();
    _loadMessages();
  }

  void _addMessage(types.Message message) async {
    setState(() {
      messages.insert(0, message);
    });
    log("${message.toJson()["text"]}");
    var data = await _botService.callBot(message.toJson()["text"]);
    log("#####${data['message']}");
    setState(() {
      messages.insert(0, botMessageReply(data['message']));
    });
  }

  types.Message botMessageReply(String message) {
    return types.TextMessage(
      author: _bot,
      createdAt: DateTime.now().millisecondsSinceEpoch,
      id: const Uuid().v4(),
      text: message,
    );
  }

  void _handleSendPressed(types.PartialText message) {
    final textMessage = types.TextMessage(
      author: _user,
      createdAt: DateTime.now().millisecondsSinceEpoch,
      id: const Uuid().v4(),
      text: message.text,
    );
    _addMessage(textMessage);
  }

  void _loadMessages() async {
    List<types.Message> messagesList = [];
    Future.delayed(Duration(milliseconds: 300), () {
      messagesList.add(types.TextMessage(
        author: _bot,
        createdAt: DateTime.now().millisecondsSinceEpoch,
        id: const Uuid().v4(),
        text: "Hello. My name is TUTU- your bot. How can I help you?",
      ));

      setState(() {
        messages = messagesList;
      });
    });
  }

  @override
  Widget build(BuildContext context) {
    return Scaffold(
      appBar:AppBar(automaticallyImplyLeading: false,title:Text("BOT"),backgroundColor:Colors.purpleAccent),
      body: Chat(
        messages: messages,
        showUserNames: true,
        onSendPressed: _handleSendPressed,
        user: _user,
      ),
    );
  }
}
_loadMessages() Function: This function load messages from the firebase/local file. Here I am pushing a starting message which will be instantiated by the bot when user opens this bot._addMessage() Function: This function interacts with bot_service.dart which further interacts with LEX API to get the result of the message sent by the user.
3. Here is Our Final Product🔥🔥
| BOT Screen | |
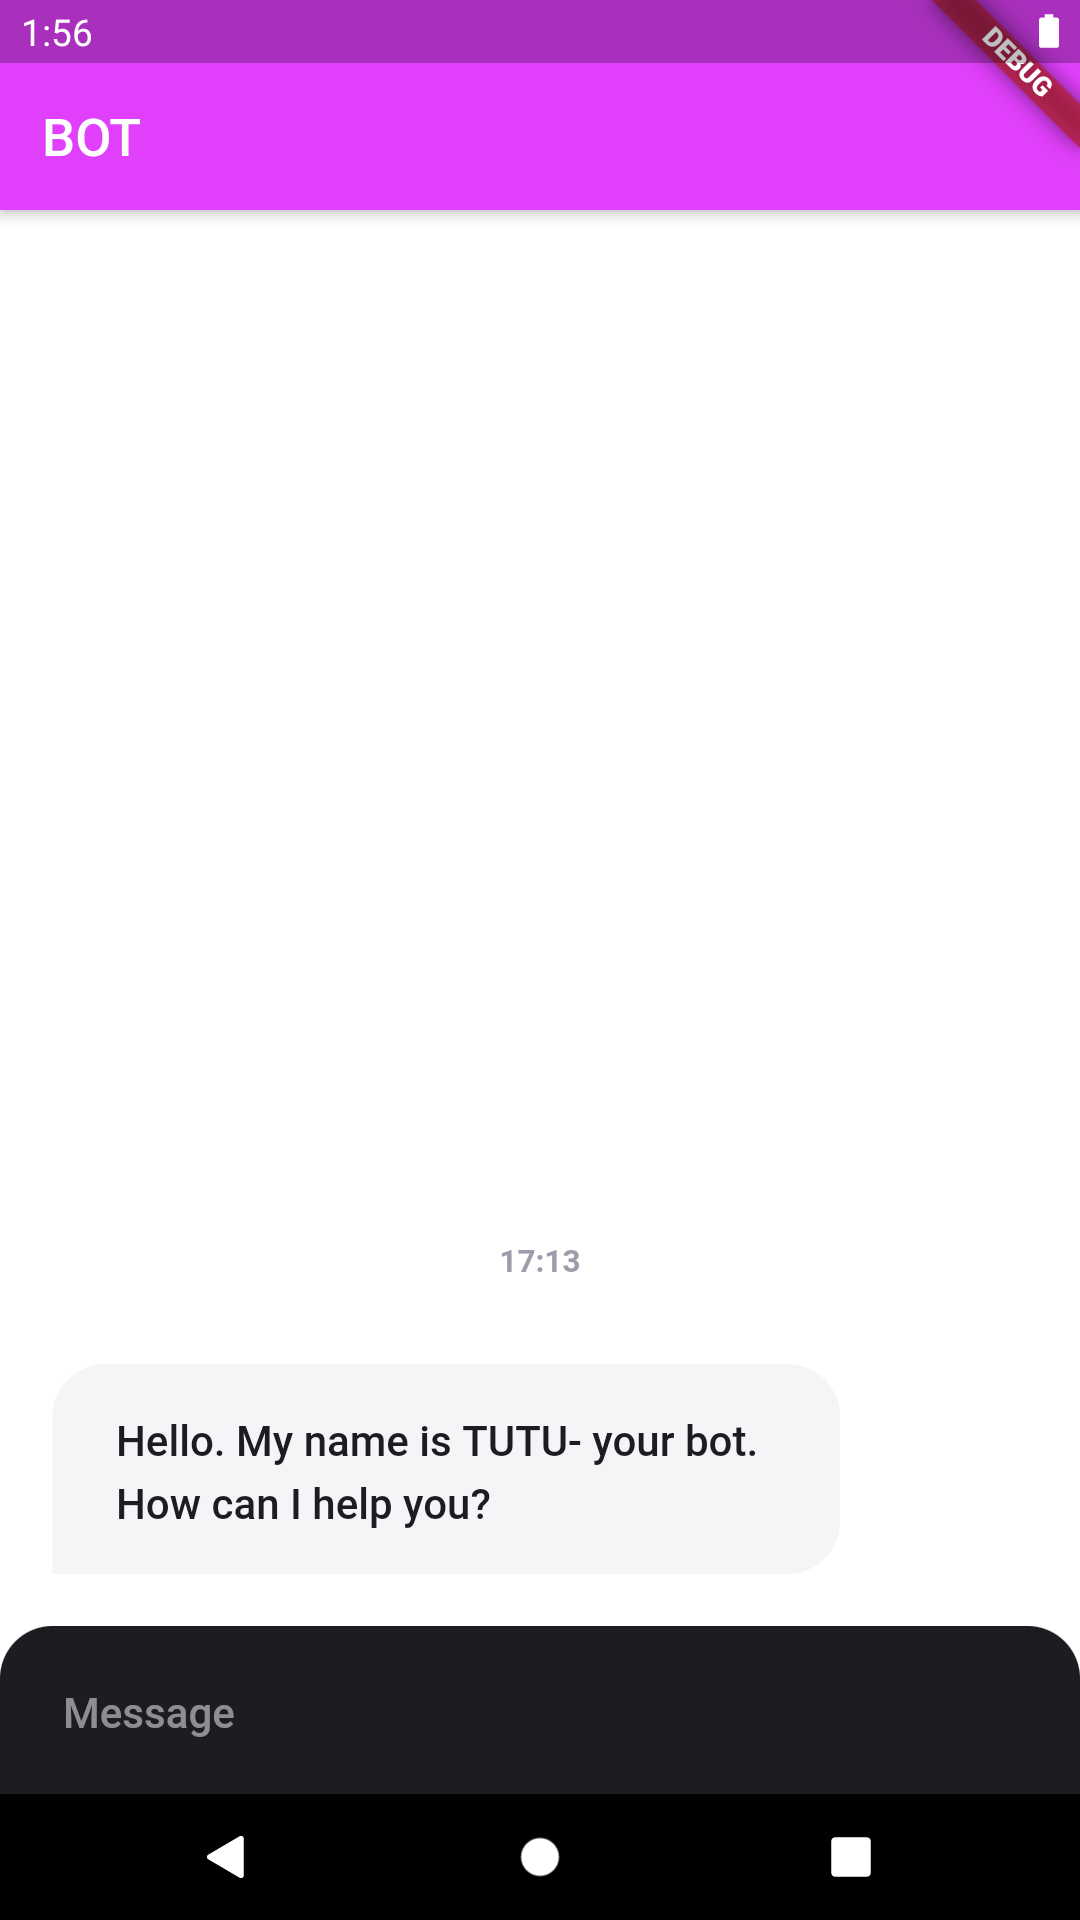 | 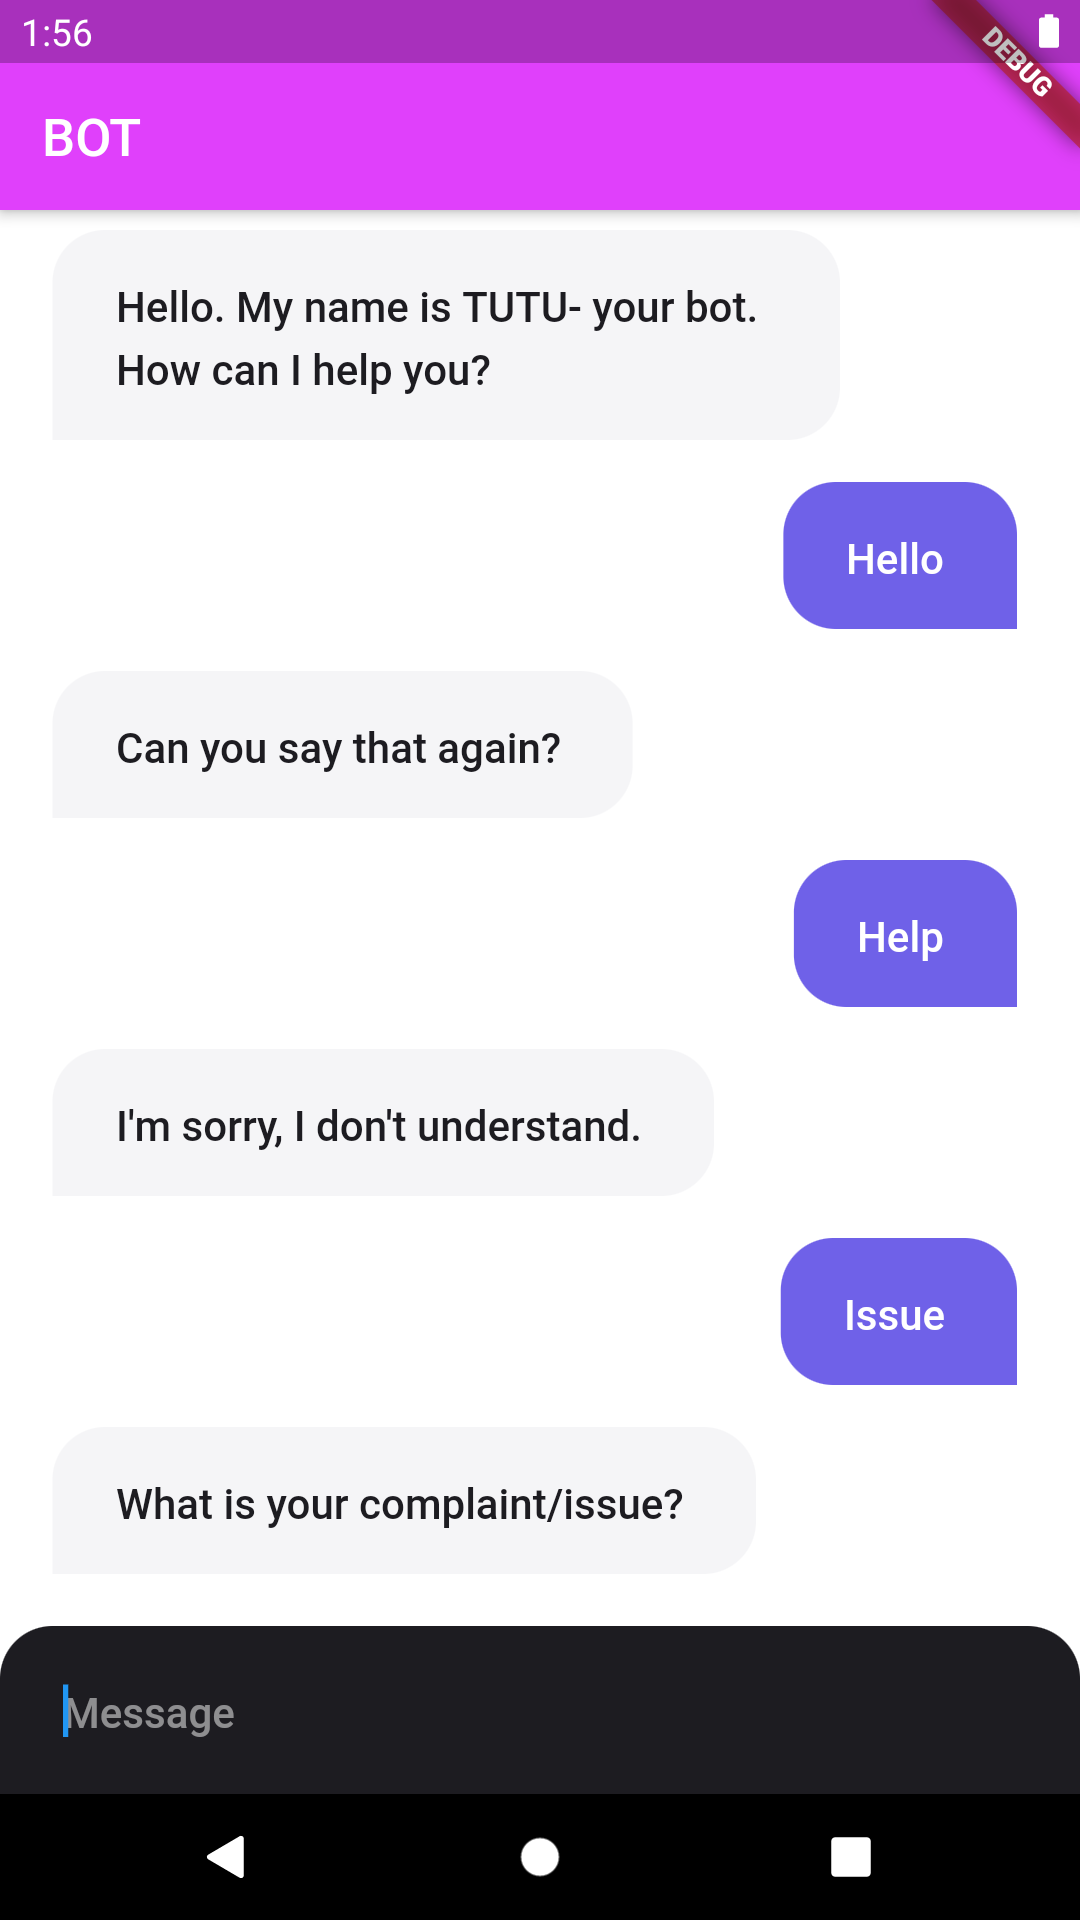 |
Congratulations🎉
 Great job, you've connected your Flutter app to the Lex bot... well done!
Please let me know if you have any questions or concerns regarding this article and I will do my best to help or learn more.


